Lasercut Stained Maps
Fall 2021
Fall 2021
I’ve always found lasercut topographical maps to be extremely fascinating, yet simple pieces of art, and so in Fall 2021 I decided to go about making my own. The process is quite simple, only requiring topographical data (the hard part), a laser cutter (the less hard part), and wood (the easy part).
I start by finding topobathy (topographical and bathymetry) data which is used to generate layer heights. Websites like ArcGIS provide this at a cost, but depending on the city or region, if common enough, the following websites provide good alternatives:
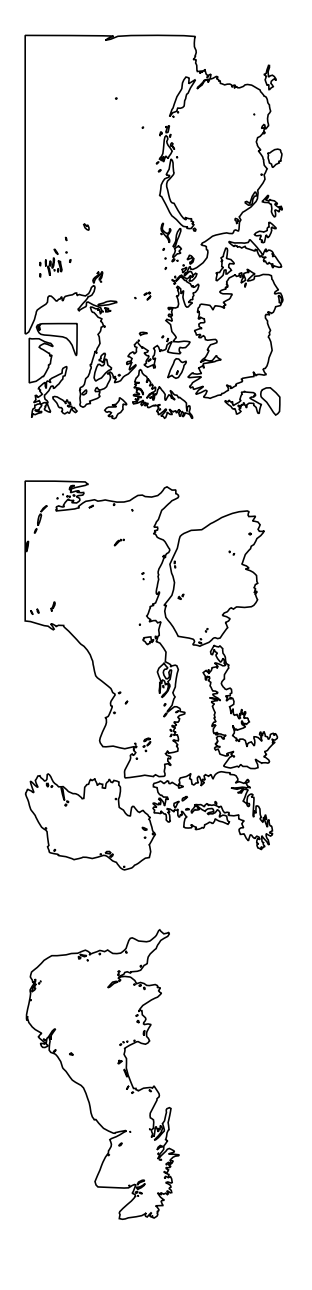
With the raw elevation data, I use QGIS which is a free, open source, map processor to define my discrete layer heights. The layer heights are not uniform, since this generates a more aesthetically pleasing piece. I can then export that data as contour lines and layers to a vector image processor (I use Inkscape for Mac) to generate dxfs for laser cutting. Finally, I use nesting software (DeepNest) to create efficiently spaced sheets for lasercutting. Here is an example from a UK Map.
![]()
Once the dxf is ready, I lasercut approximately 1/8” thick pieces of Baltic Birch plywood, and stain the correct bottom layers. Usually, I will also lasercut a rectangle of the correct size as the base. I typically aim for 8 - 10 wood layers, resulting in a map about 1.5-2” thick. This is good for most frames.
![]()
I stain the bottom layers using dark navy blue wood stain, and then use a lacquer spray to protect the wood from moisture or other damage. Finally, I use wood glue and clamp together for about a day, making sure to scrape excess.
![]()
![]()
The last step is optional, but for me I like to frame my pieces. Framing can be quite expensive, especially for custom dimension pieces like these. I found americanframe.com and similar sites offer affordable frames custom dimensioned for pieces. Once framed, the piece is complete!
![]()
I start by finding topobathy (topographical and bathymetry) data which is used to generate layer heights. Websites like ArcGIS provide this at a cost, but depending on the city or region, if common enough, the following websites provide good alternatives:
With the raw elevation data, I use QGIS which is a free, open source, map processor to define my discrete layer heights. The layer heights are not uniform, since this generates a more aesthetically pleasing piece. I can then export that data as contour lines and layers to a vector image processor (I use Inkscape for Mac) to generate dxfs for laser cutting. Finally, I use nesting software (DeepNest) to create efficiently spaced sheets for lasercutting. Here is an example from a UK Map.
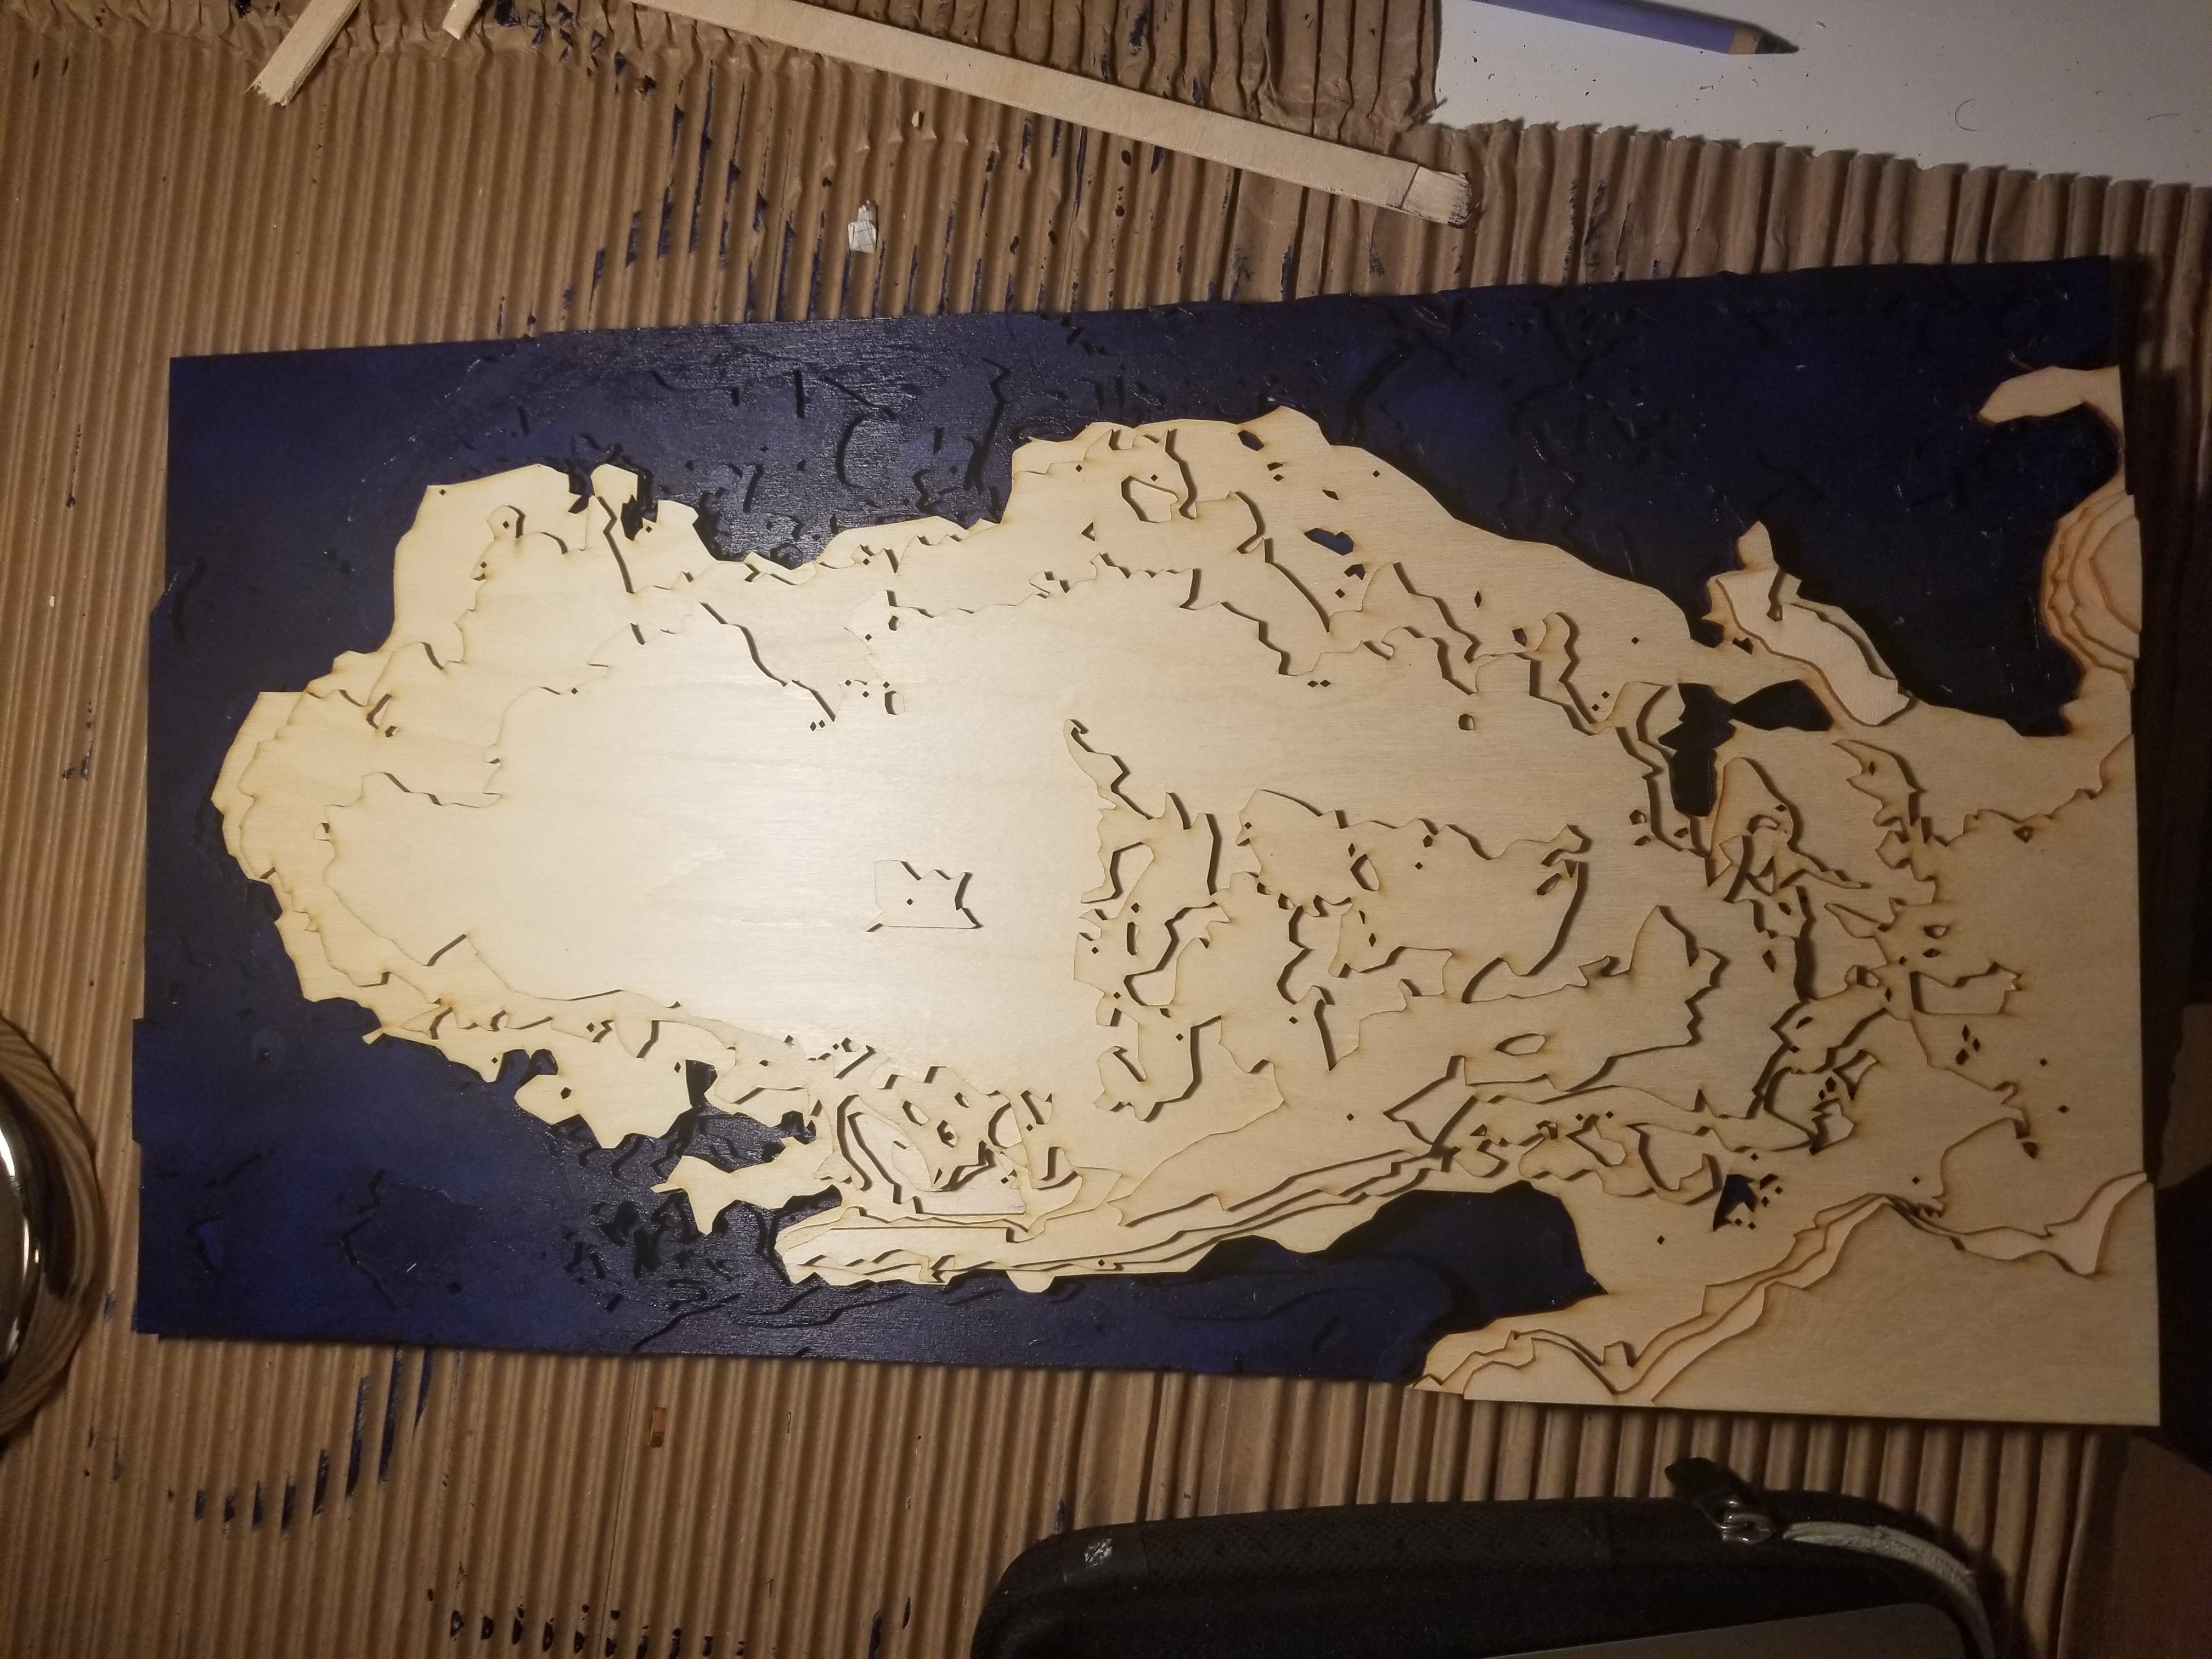
I stain the bottom layers using dark navy blue wood stain, and then use a lacquer spray to protect the wood from moisture or other damage. Finally, I use wood glue and clamp together for about a day, making sure to scrape excess.


The last step is optional, but for me I like to frame my pieces. Framing can be quite expensive, especially for custom dimension pieces like these. I found americanframe.com and similar sites offer affordable frames custom dimensioned for pieces. Once framed, the piece is complete!

To comply with ITAR regulations and NDAs, all Astranis, Blue Origin, Northrop Grumman and SpaceX pictures shown are available publicly online